Painting a ceiling can seem like a challenging task, but with the right approach and tools, you can achieve a smooth and professional finish. Here’s a simple guide to help you paint your ceiling with confidence.
1. Gather Your Materials
Before you start, make sure you have all the necessary materials:
- Ceiling paint (preferably a flat or matte finish)
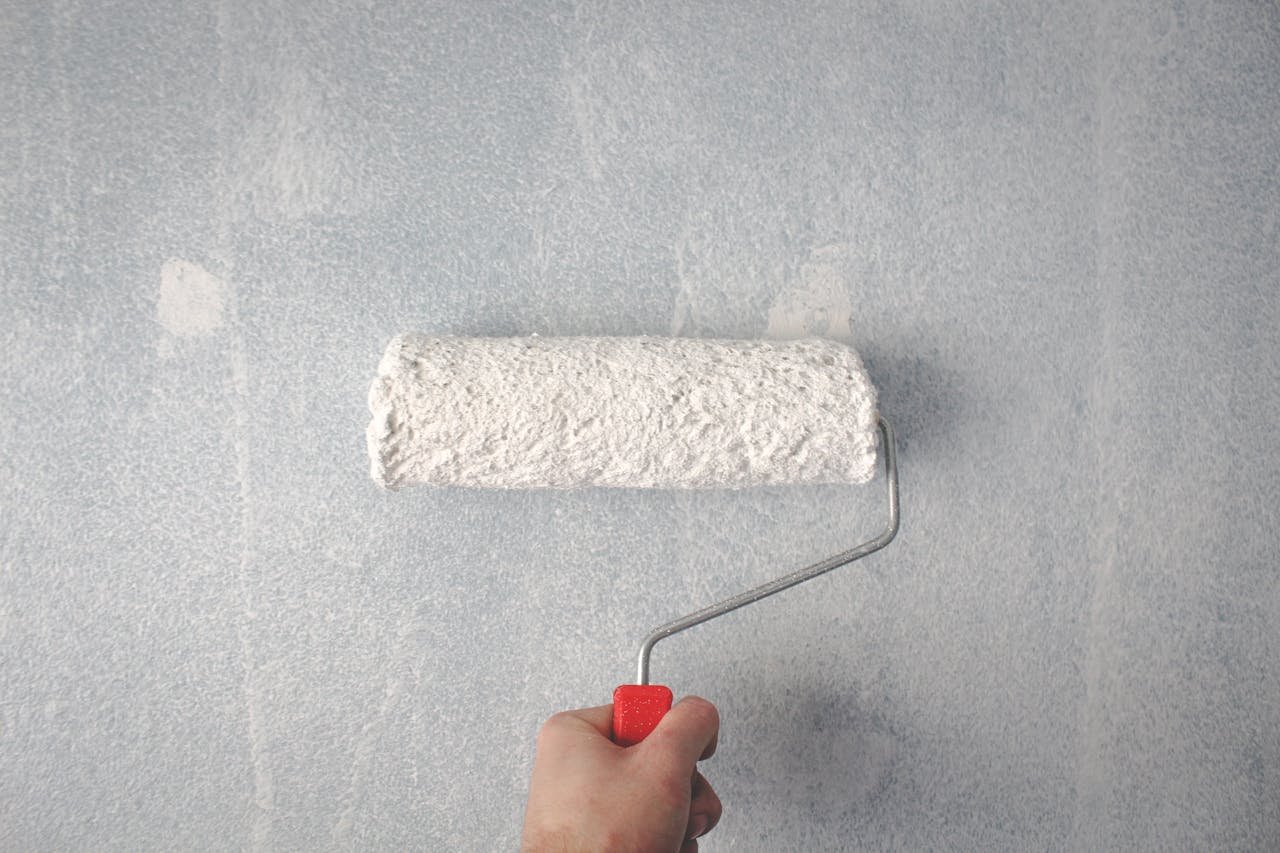
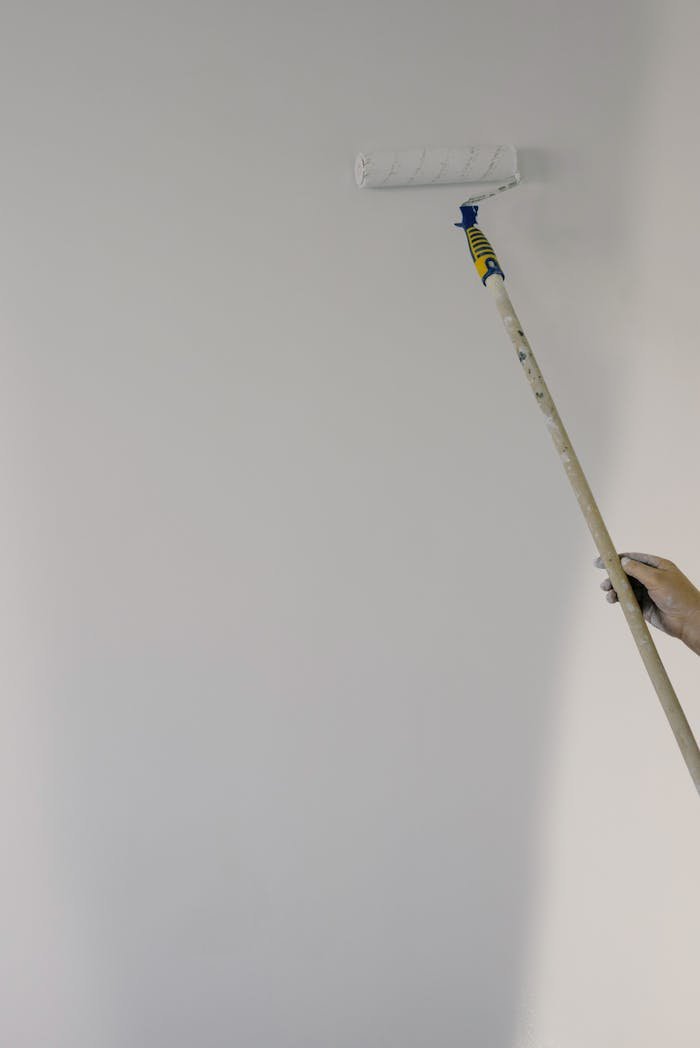
- Paint rollers (with an extension pole)
- Paint brushes
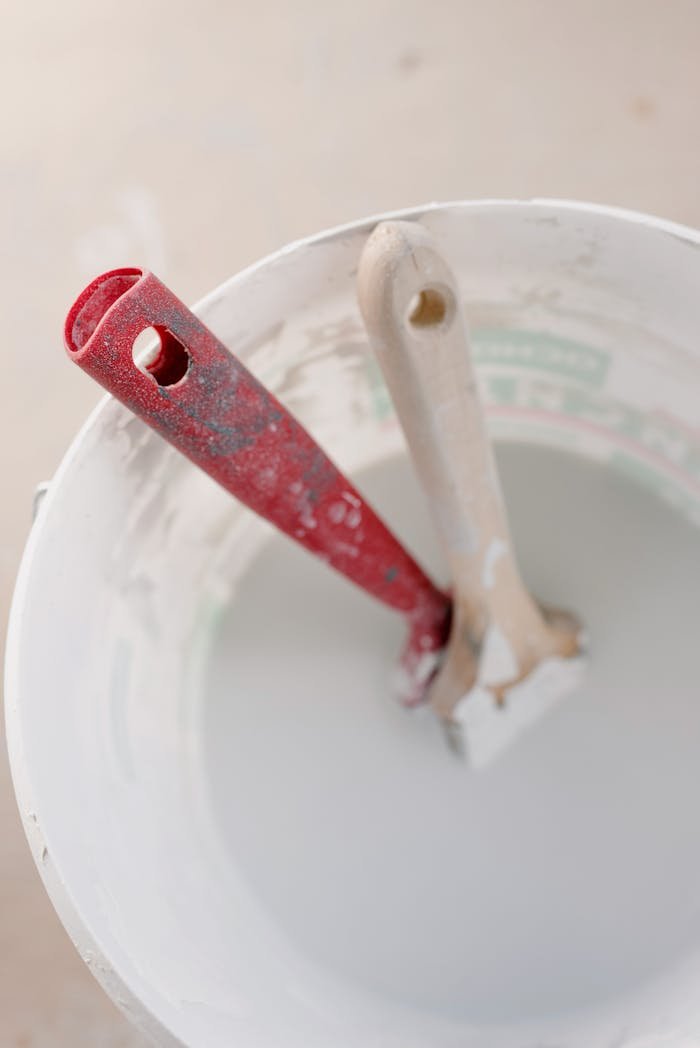
- Paint tray
- Painter’s tape
- Drop cloths or plastic sheeting
- Step ladder
- Sandpaper
- Cleaning solution (mild detergent)
- Safety goggles and a dust mask
2. Prepare the Room
Preparation is key to a successful paint job.
- Protect the Room: Move as much furniture as possible out of the room. Cover the remaining furniture and the floor with drop cloths or plastic sheeting to protect them from paint splatters.
- Clean the Ceiling: Dust and clean the ceiling with a mild detergent solution to remove any dirt or grease. Rinse with clean water and let it dry completely.
- Sand the Ceiling: Lightly sand the ceiling to create a smooth surface for the paint to adhere to. Wipe away dust with a damp cloth.
- Tape Off Areas: Use painter’s tape to mask off the tops of the walls, light fixtures, and any other areas you don’t want to paint.
3. Prime the Ceiling
Priming the ceiling is important, especially if:
- The ceiling is stained or discoloured
- You are painting over a dark colour
- The ceiling has not been painted before
Apply a coat of primer evenly across the ceiling using a roller. Let it dry completely according to the manufacturer’s instructions.
4. Paint the Ceiling
Now it’s time to apply the paint.
- Cut In: Start by using a brush to paint along the edges of the ceiling where it meets the walls. This technique is called “cutting in”. Work in small sections to keep a wet edge.
- Roll the Paint: Use a roller with an extension pole to paint the large areas of the ceiling. Apply the paint in a “W” or “M” pattern to ensure even coverage and avoid streaks. Work in small sections, blending each section as you go.
- Apply Additional Coats: Most ceilings will need at least two coats of paint. Allow the first coat to dry completely before applying the second.
5. Finishing Touches
After the paint has dried:
- Remove Painter’s Tape: Carefully remove the painter’s tape before the paint is completely dry to avoid peeling.
- Clean Up: Clean your brushes and rollers with water (for latex paints) or the appropriate solvent (for oil-based paints). Remove the drop cloths and put the furniture back in place once the paint is fully dry.
Tips for Success
- Lighting: Ensure good lighting while painting to see any missed spots or uneven coverage.
- Ventilation: Keep the room well-ventilated by opening windows or using fans.
- Quality Paint: Use high-quality ceiling paint for a smoother finish and better coverage.
- Pace Yourself: Painting a ceiling can be tiring. Take breaks as needed to avoid fatigue and ensure a consistent paint job.
By following these simple steps, you can achieve a professional-looking ceiling and refresh your room. Happy painting!